
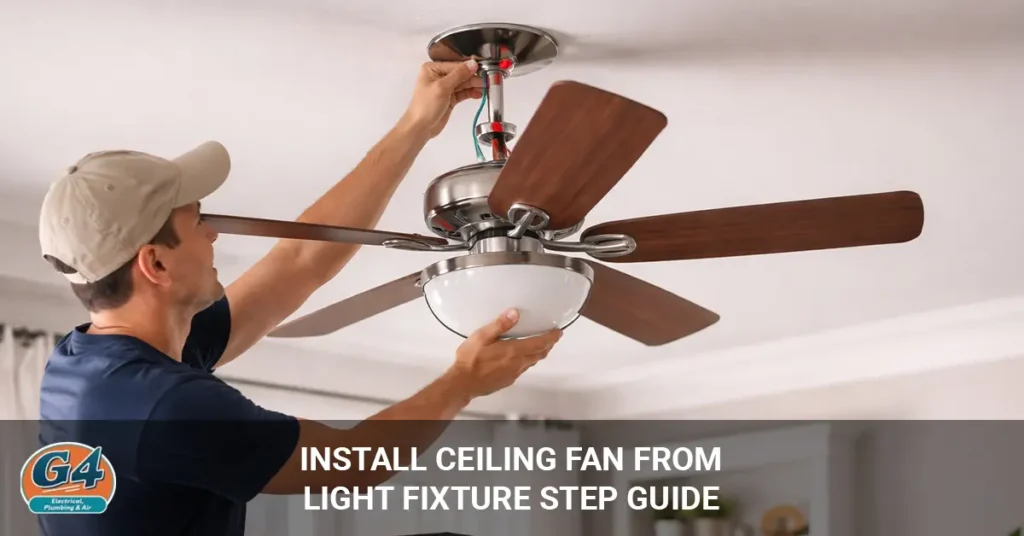
You can install a ceiling fan from a light fixture by replacing the fixture, using a fan-rated box, and connecting the wires correctly.
If you already have a light fixture in your ceiling, you’re off to a good start. In many homes, the wiring is already there, which makes the job easier.
But don’t rush. A ceiling fan is heavier and moves while running, so it needs strong support and proper installation.
The good news is that most homeowners can do this with basic tools and the right steps.
In this guide, you’ll learn exactly how to install a ceiling fan safely, what to check before you start, and how to avoid common mistakes along the way.
Is Your Ceiling Box Rated for a Fan?
Your ceiling box must be fan-rated to safely support the weight and movement of a ceiling fan.
A standard light fixture box is not strong enough to hold a fan. If you install a fan on a regular box, it can loosen over time or even fall, which is dangerous.
A fan-rated box is designed to handle both the weight and the vibration of a spinning fan. It stays secure even with constant movement.
If your current box is not fan-rated, you should replace it before installing the fan. This step is essential for safety and long-term use.
Tools and Materials You’ll Need
You need a few basic tools and materials to install a ceiling fan safely and correctly.
Most of these are common household tools. You’ll need a screwdriver, a voltage tester, wire connectors, a ladder, and your ceiling fan kit.
Having everything ready before you start makes the job smoother. It saves time and helps you avoid stopping in the middle of the installation.
Turn Off Power and Prepare the Area
You must turn off the power before working on any electrical fixture to stay safe.
Go to your breaker panel and switch off the power to the room where you’ll be working. Then use a voltage tester to make sure there is no electricity running through the wires.
This step is very important. Even a small mistake can be dangerous if the power is still on.
Always double-check before you start. Never skip this step.
Step-by-Step: How to Install a Ceiling Fan
You can install a ceiling fan by following the steps in the correct order.
Step 1: Remove the Existing Light Fixture
Start by removing the old light fixture from the ceiling.
Carefully disconnect the wires and remove the mounting bracket. Take your time and keep track of how the wires were connected.
Step 2: Install a Fan-Rated Electrical Box
Install a fan-rated electrical box to safely support the fan.
Attach it securely to a ceiling joist or a proper support brace. Make sure it is tight and stable, as this will hold the weight and movement of the fan.
Step 3: Attach the Mounting Bracket
Attach the mounting bracket to the electrical box to support the fan.
Follow the instructions that come with your fan. Make sure the bracket is tightly secured, as it will hold the full weight of the fan.
Step 4: Connect the Wiring
Connect the fan wires to the house wiring correctly to ensure safe operation.
Match the wire colors usually black to black (hot), white to white (neutral), and green or bare wire to ground. Secure all connections with wire connectors.
Step 5: Assemble and Mount the Fan
Assemble the fan and mount it onto the bracket securely.
Attach the motor housing and make sure all screws are tight. A stable fan will run smoothly without wobbling.
Step 6: Install the Light Kit (Optional)
Install the light kit if your ceiling fan includes one.
Connect the wires as instructed and secure the light fixture properly.
Step 7: Turn Power Back On and Test
Turn the power back on and test the fan to make sure everything works.
Check all fan speeds and test the light. Make sure the fan runs smoothly and quietly without shaking.
After installation, test all fan speeds and make sure everything runs smoothly. If you notice issues, it may help to understand why a ceiling fan is not working.
Common Mistakes to Avoid
Avoiding common mistakes helps you install your ceiling fan safely and prevent problems later.
One of the biggest mistakes is installing a fan on a standard electrical box. It may seem fine at first, but it can loosen or fall over time.
Loose wiring is another common issue. If connections are not tight, the fan may not work properly or could become unsafe.
Also, make sure the fan is mounted securely and balanced. A poorly installed fan can wobble, make noise, and wear out faster.
Taking a little extra time to do it right will save you trouble later.
When to Call a Professional
You should call a professional if you’re unsure about the wiring or the ceiling support.
If your home has old wiring, no proper support for the fan, or anything feels unclear, it’s safer to stop and get help.
An electrician can make sure everything is installed correctly and safely.
It’s always better to be cautious than risk damage or injury.
If you’re unsure about wiring or support, it’s important to understand the risks of DIY electrical repairs before continuing.
Final Thoughts
Installing a ceiling fan from a light fixture is simple when you follow the right steps.
The most important things are safety, proper support, and correct wiring. Take your time and don’t rush the process.
If everything is installed properly, your fan will run smoothly and safely for years.
With the right setup, you’ll enjoy better airflow and more comfort in your home every day.